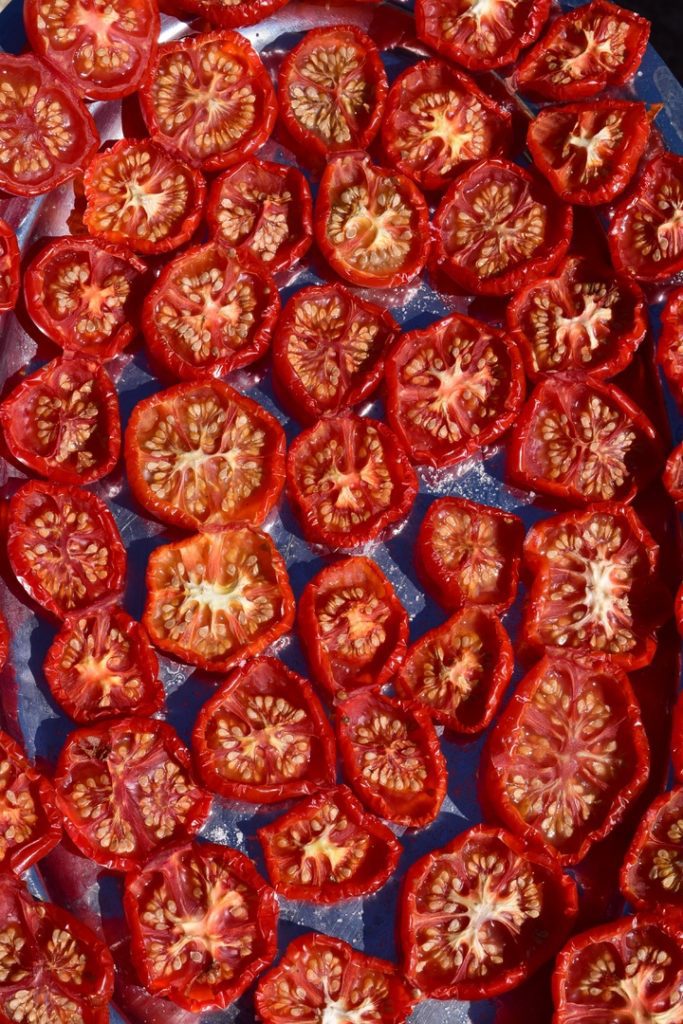
Last week I told you all the great reasons you should be dehydrating your summer produce [Providential Home Companion: Time to Dehydrate | The Dakotan | Charlene Nelson (mydakotan.com)]
It's super easy, doesn't take much time, and it's the best way to preserve the color and flavor of foods. Preserving food is an important part of a year-round food plan. So, let's get you get started dehydrating.
How will you dry?
Technically, you don't need any special equipment to start drying food. Yes, there are lots of electric dehydrators on the market, but the truth is, all you need is a lot of hot, dry air. Just put your food on some plastic mesh screens and set them out in the sun. (Note: do not use metal, or zinc-covered mesh screens, like window screens. The metal will react with the food, discoloring it and imparting a metallic taste.) Cover the food with cheese cloth or light-weight net fabric to keep bugs and other pests away, After a day in the hot sun, you will have a batch of dried food.
You can also dry food in your oven set at 100°—150°. Ovens have hot and cold spots, so rotate the food periodically to get an even dry. You could also dry food in your car. Again, put the food on screens, something that will allow the air to circulate around the food, put them in a car facing the sun, close up the windows and in just a few hours, voilà! Dried food.
However, these power-free methods do not work well if there's no sun or you have too much humidity. So for year-round dehydrating in all kinds of weather, you'll want to buy a dehydrator. There are dozens of models out there. Each has their pros and cons but all are basically the same thing: a box with mesh trays and a heat source. You can spend as little as $5 at the thrift store or up to $250 for a top of the line model. I have compiled a chart of the many different models with the pros and cons of each to help you decide which model to get.
Get started
Once you have chosen how you will dry your food, the rest is easy. There really are only three rules to good dehydrating:
1-Start with fresh, unblemished fruits and vegetables. Your finished product can never be better than what you started with, so start with the best.
2-Cut the pieces as uniform as possible. You want to ensure that everything finishes drying at about the same time; no over dry or under dry pieces in the batch.
3-No touching. Touching or overlapping food means that air will not circulate evenly and can lead to either slow drying or even spoilage.
Herbs and fruit require little to no prepping. Just clean, remove unwanted stems or blemished parts and place them on your trays. Some fruits will turn brown when exposed to air. You can prevent this by first dipping the pieces in water that is mixed with ascorbic acid, lemon juice or Fruit Fresh.
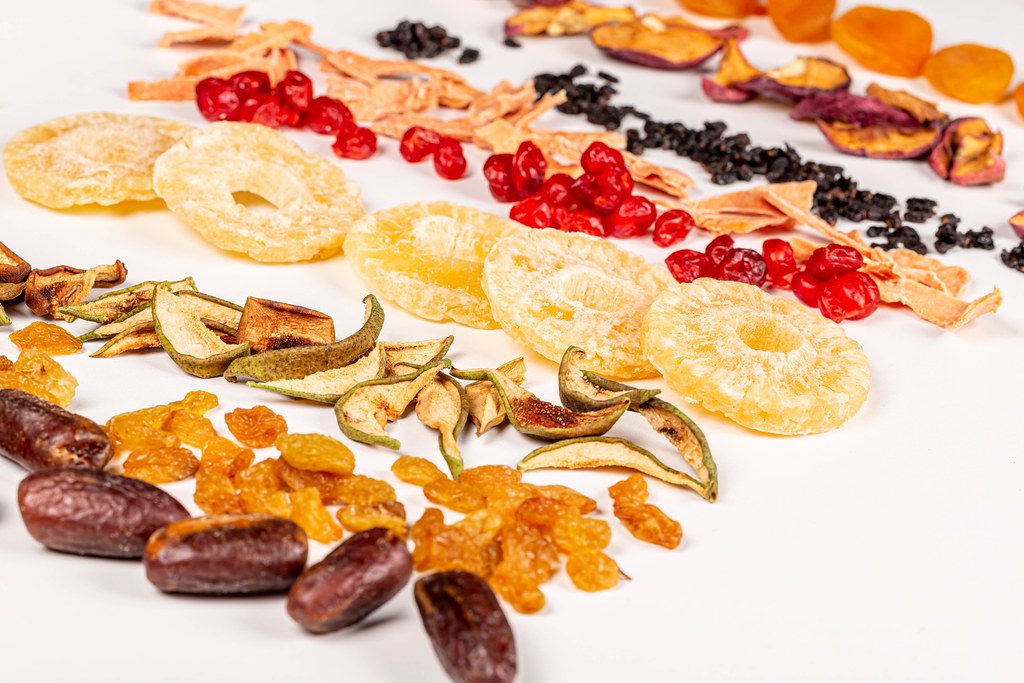
Drying removes almost all of the water from the food and that means that the flavor is far more intense. You only need about 1/3 to 1/4 of dried herbs compared to fresh. Fruit will become much sweeter. You can make dried apples more appealing by dusting the apple slices with some sugar and cinnamon or fruit flavored gelatin before putting them on the trays. When dried they taste just like candy, only more nutritious.
Fruit leather is like fruit Roll-Ups, only without all the sugar and artificial colors and flavors. Just pour pureed fruit onto trays lined with plastic cling wrap and spread it out evenly edge to edge. It should be about 1/8” to 1/4” thick. Some dehydrators come with special fruit leather liner trays, but I like using the cling wrap to keep the finished product from sticking to other pieces. Dry for 8-12 hours, until the puree is tacky, about the consistency of leather.
Don't forget your vegetables
If you are starting to get flooded with zucchini, make zucchini chips. You can also make “fruit gummies” with zucchini. Your kids will never know they're eating vegetables.
Our family can't get enough of kale chips. They are super easy and you can have a huge batch ready to eat in just a couple hours.
Don't buy celery salt any more. When celery goes on in sale (like at Thanksgiving time) buy several stalks. Chop them up, leaves and all and dry them. Then put the dried celery in your blender and blend until you have a fine powder. It's a flavor-packed addition to all your recipes. Using celery also reduces the need for additional salt in your recipes.
Try drying mushrooms, egg plant, peppers, onions, peas, beans and cabbage. Root crops like carrots and potatoes need to be blanched before drying. Grate blanched potatoes for instant dried hash browns. Sliced dried potatoes will give you instant potatoes au gratin.
One of my all-time absolute favorite thing to dry is hot peppers. When the peppers are crispy dry, put them into a blender and grind into a fine powder. The flavor and aroma of homegrown, home dried cayenne powder is far more vivid, complex and colorful than store bought. You'll never go back to store-bough again.
This is just the beginning. There is so much more that you can do with your dehydrator: jerky, fish, left-over meals, yogurt, eggs. The list is endless. Check the links below for more information, including a free 40+ page ebook with instructions and recipes for drying dozens of different foods.
Storing dried food
Properly stored, dried food is good for a year or more. What that means is (1) no moisture (2) protected from heat and light and (3) protected from pests. You can store the food in Ziplock baggies if it's going to be used quickly. But for anything more than a few days, you'll want to store it in pest-proof glass or plastic containers.
The containers should have a tight fitting lid to keep moisture out. If the lid is not tight, you can make a gasket with 1/8” craft foam, cut to the same size as the lid. Or, if you have a vacuum sealer, use the jar sealer attachment to get a nice airtight seal on the jar.
The ideal temperature for all your stored food is 70°. For every ten degrees over 70°, you cut the shelf life of your food in half. Light also destroys the color and flavor of food, so keep it in a cupboard or away from bright lights.
Start drying today and by summer's end you can have your shelves filled with tasty from-the-garden food to enjoy all winter long.
Free dehydrating ebook: https://www.providenthomecompanion.com/product/everyday-dehydrating-ebook/
Choosing a good dehydrator: https://www.providenthomecompanion.com/wp-content/uploads/2019/03/Choosing-a-Dehydrator-clean.pdf
Recipe for Zucchini Gummies: https://www.providenthomecompanion.com/recipe-zuchini-gummies/